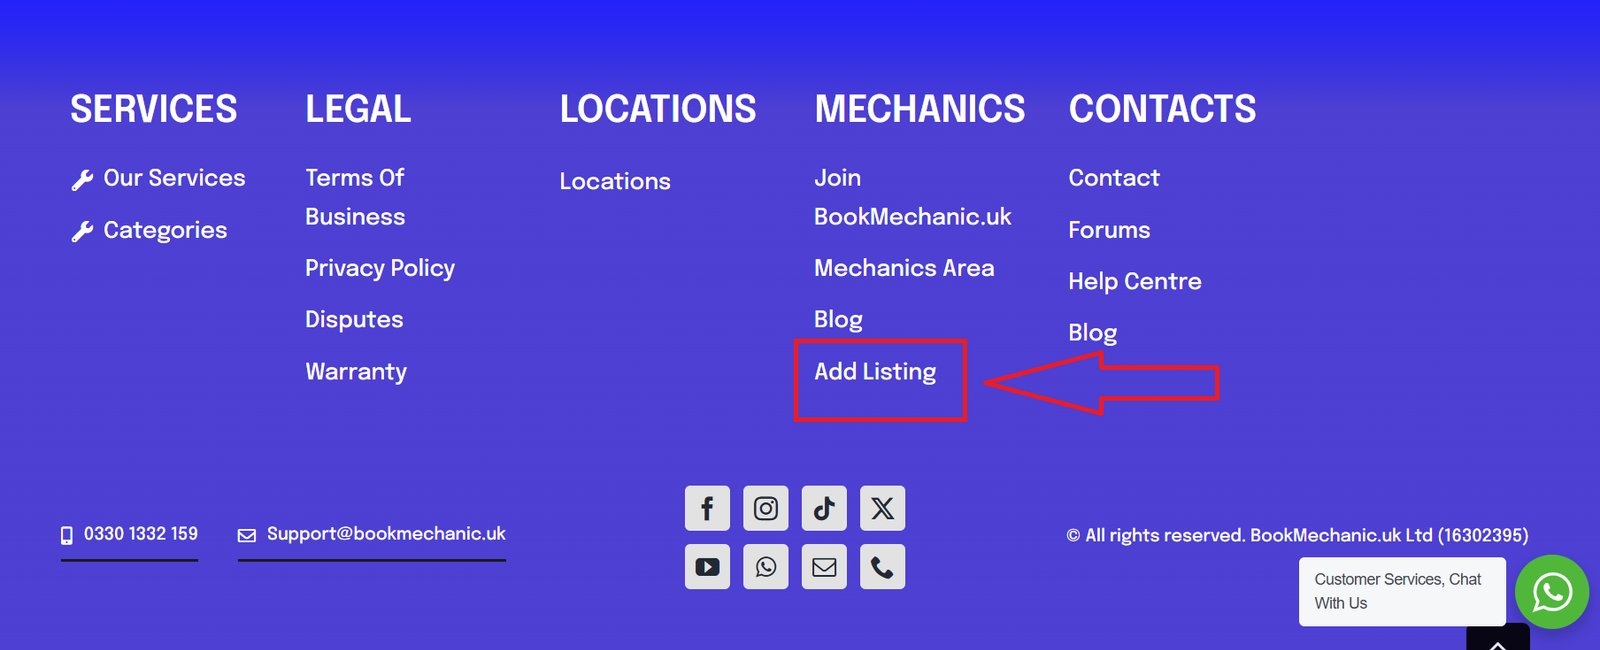
To create add listing head over to the bottom menu of the website and select Add Listing or use the link provided upon sign up. – Add Mechanics – BookMechanic.uk
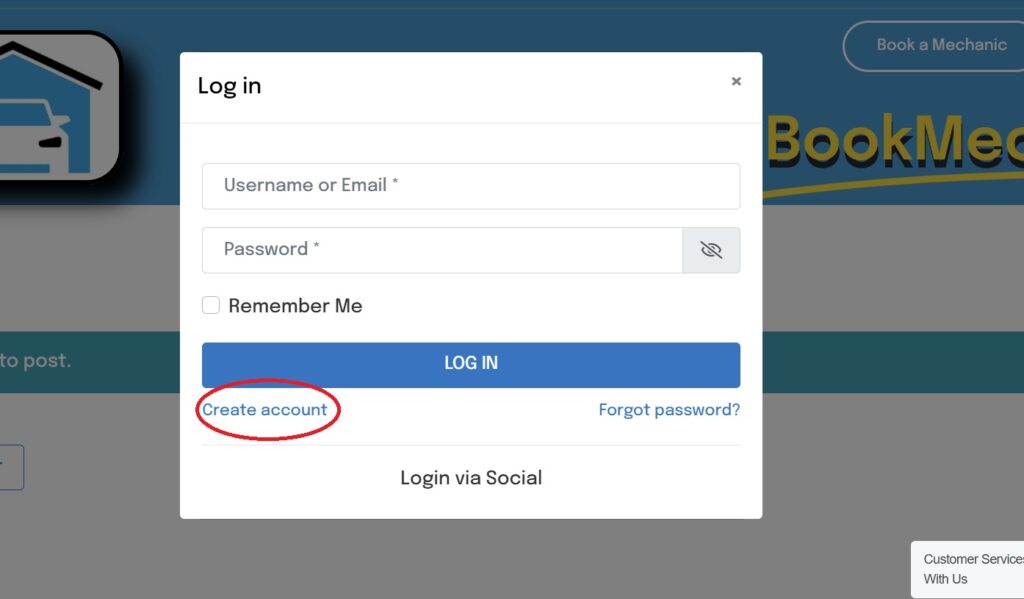
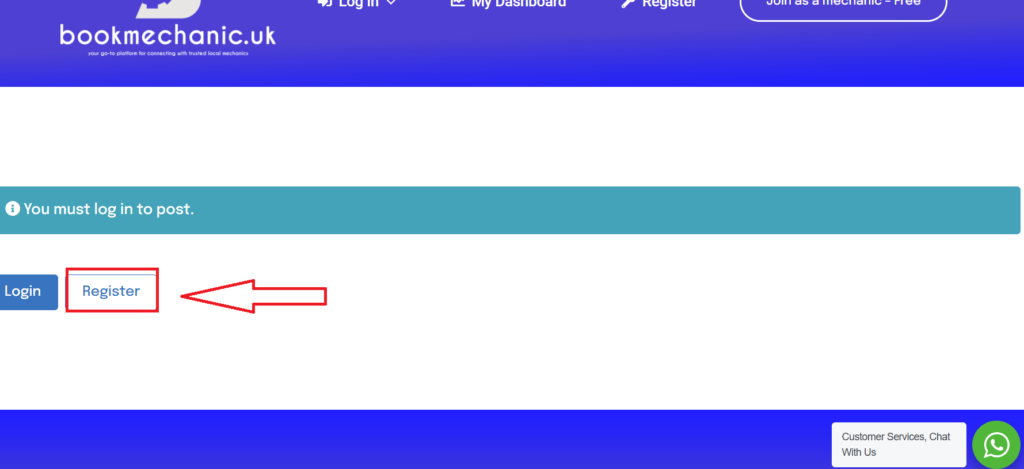
A light box will appear requesting you to log in, if not already registered you will need to register an account first. Login > Register
Once logged in return to the “Add listing” page from here you can fill out your listing.
Package – Select your desired package, each package has different features and visibility.
Place Title – Entre your business name.
Has Franchise? – click yes if you want to be listed in multiple locations / Towns / City’s.
Place Description – Tell your customers how fantastic your business is and why they should pick you above everyone else.
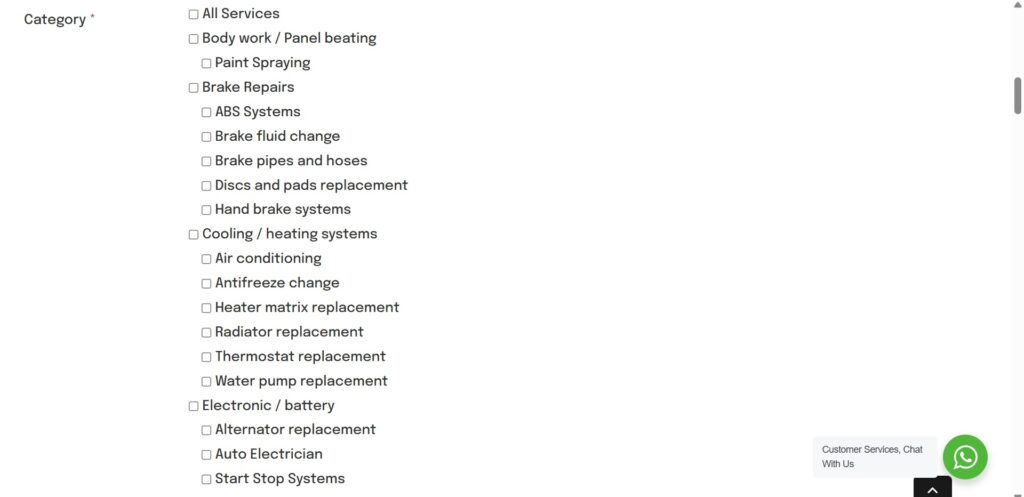
Category – Select all the category you want your business to be listed under, the more locations, the more the category the better the visibility.
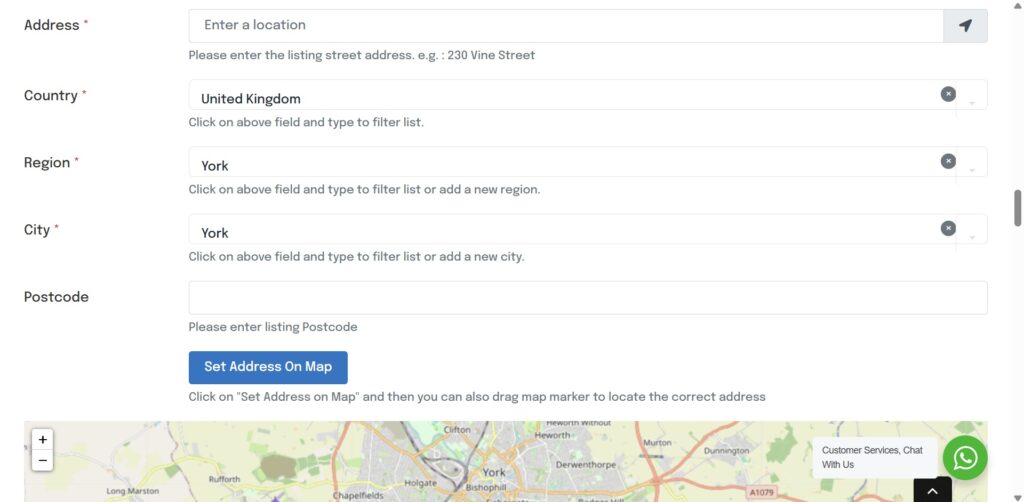
Entre your business location / address on the map, if unable to find address move the map pin to the correct location and select “Set Address On Map”
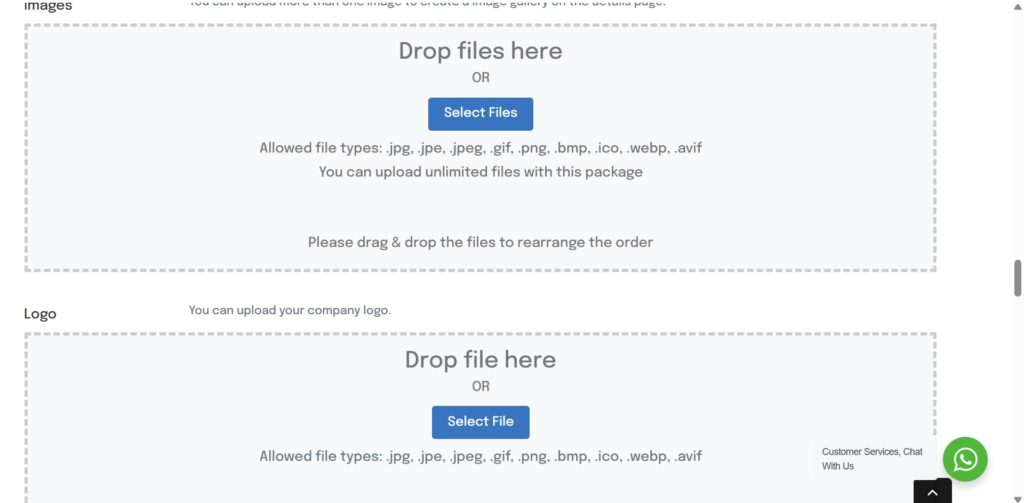
Images – The more images added the better your profile will look
Logo – Add your logo, this will appear in the search results
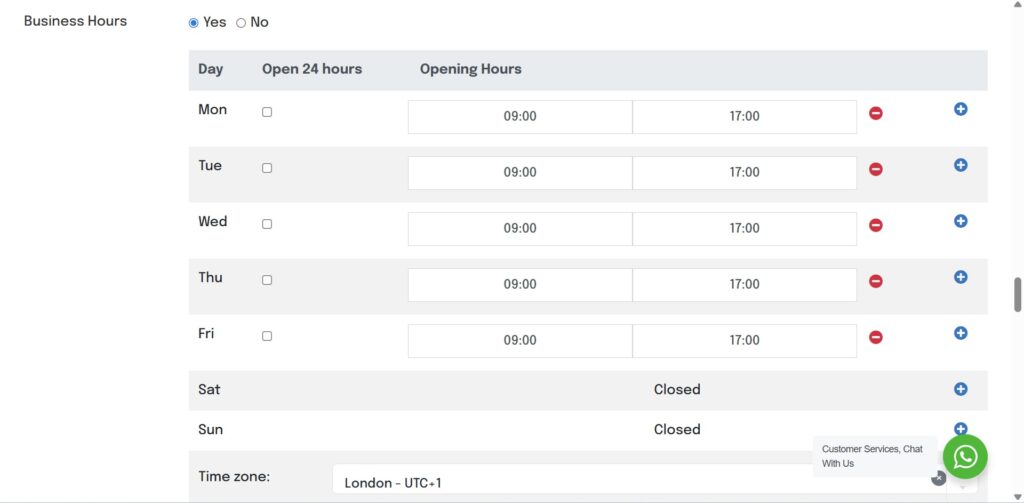
Business Hours – Select YES to open up the grid and entre your business opening hours.
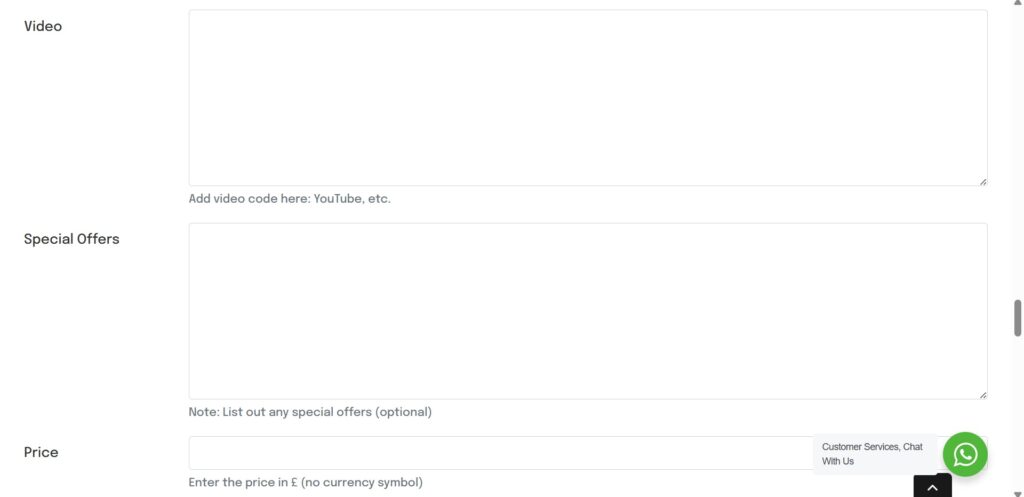
Video – You can add a video to your listing to capture the customers attention (our marketing department can help you create a video)
Special Offers – Add any special offers or services you offer
Pricing – Add and offer pricings in here
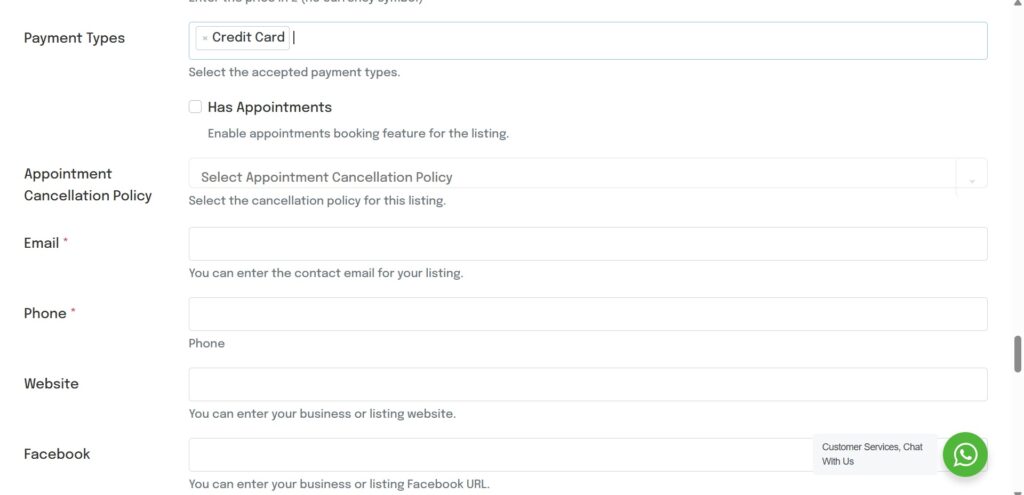
Payment type – let customers know what payment types you accept
Has Appointments – this needs to be selected to activate the booking tool.
Appointment Cancellation Policy – add template here
Email – Add email here
Phone – Add Phone number here
Website – Add website address here. NOTE – All web addresses and social addresses must start with “https://www.”
Facebook – add your Facebook link here
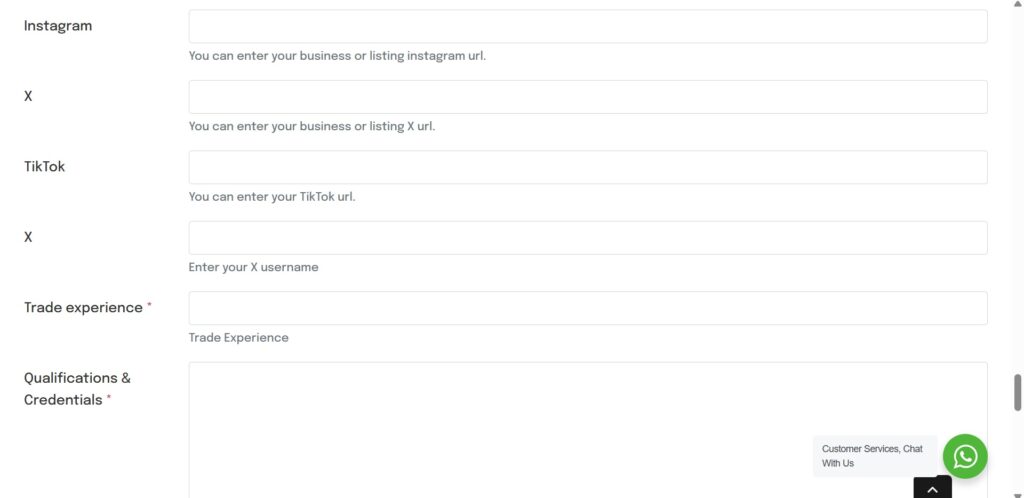
Instagram – Add your Instagram link here
X (twitter) – Add your X (twitter) link here
Tiktok – Add Your TikTok link here
X Live feed – Add a live X (twitter feed to your listing)
Trade experience – let your customers know how long you have been in the trade giving them confidence with your experience
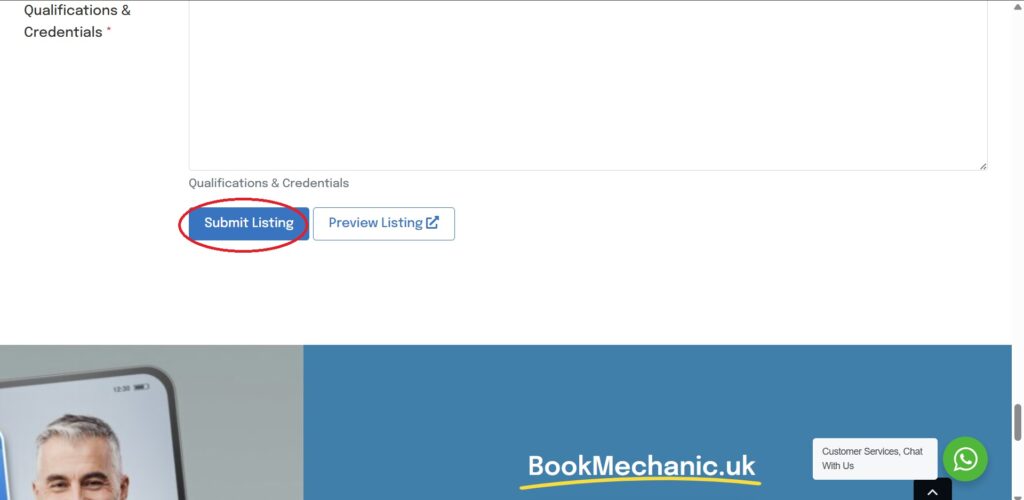
Qualifications & Credentials – Let customers know about all your achievements and qualifications
Click “Submit Listing” and your listing will be checked and put live.
For paid listing you will be redirected to the subscriptions payment by stripe checkout
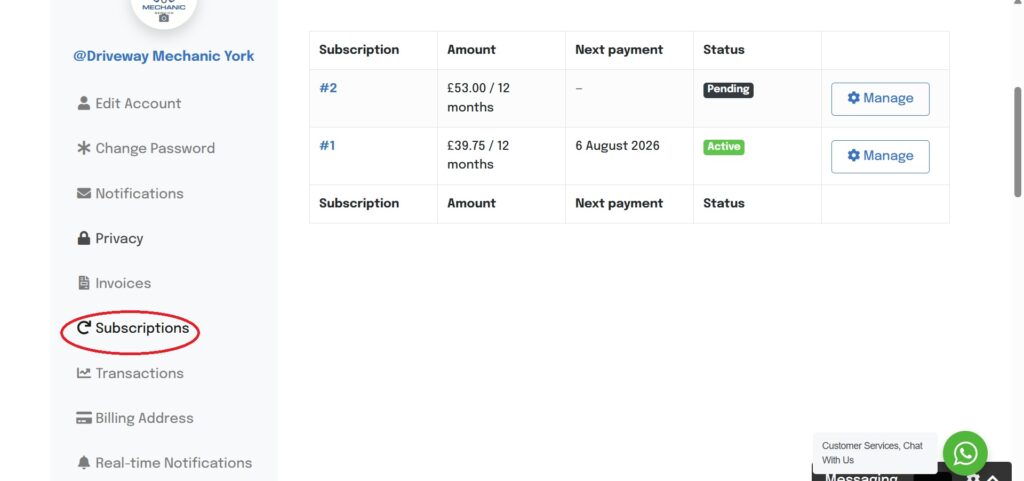
All subscription and billing information can be found inside your account settings
By bookmechanic.uk|2026-03-07T19:38:16+00:0018 May 2025|Comments Off on Add Listing